 Metallurgical Microscopy
Overview
At Outermost Technology, we understand the critical role materials play in the success of high-tech industries. Our Metallurgical Microscopy services are at the heart of our one-stop materials analysis solutions, offering unparalleled insights into the microstructure of metals and alloys. Through state-of-the-art imaging techniques and expert analysis, we help our clients unlock the secrets within their materials, enabling innovation, ensuring quality, and solving complex challenges.
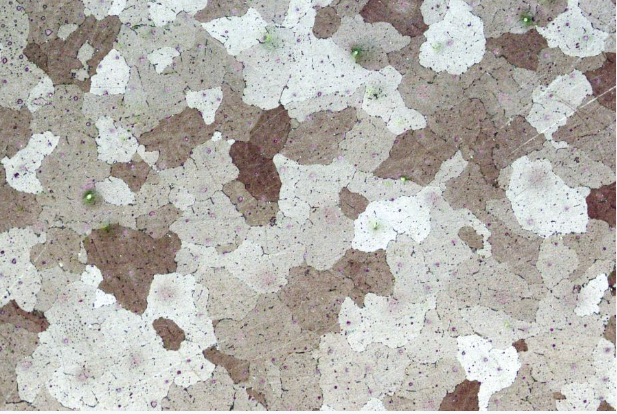
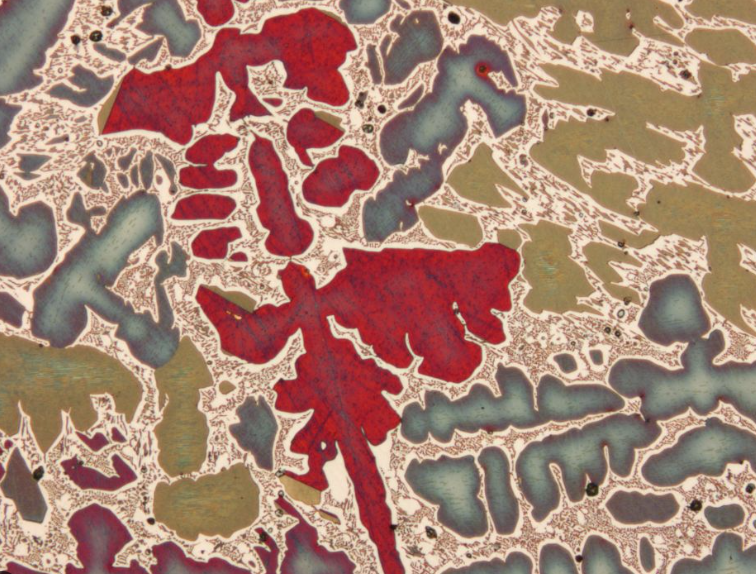
Metallurgical Microscopy is a cornerstone technique in materials science, used to examine and analyze the microstructural characteristics of metallic specimens. By revealing details invisible to the naked eye, such as grain size, phase distribution, and defects, this method provides essential information for understanding material properties, performance, and behavior. At Outermost Technology, we leverage advanced microscopy tools and techniques to deliver detailed, accurate analyses that support your project’s specific needs.
Our team of experienced metallurgists and materials scientists brings a wealth of knowledge to every analysis. We collaborate closely with our clients to interpret microscopy data, offering insights into how the microstructural features of a material can influence its mechanical properties, corrosion resistance, and suitability for various applications. Whether you’re developing new materials, investigating failure causes, or enhancing product performance, our expertise can guide you towards informed decisions and innovative solutions.
Outermost Technology specializes in addressing the unique materials challenges faced by the high-tech industry. From semiconductors and aerospace components to advanced manufacturing and beyond, our Metallurgical Microscopy services are designed to meet the stringent requirements and high standards of our clients. We provide comprehensive analysis, including phase identification, inclusion analysis, grain size measurement, and more, all tailored to your specific objectives.
Here are some examples of when to use Metallurgical Microscopy analysis:
- Quality Control and Assurance
- Failure Analysis
- Material Development and Research
- Welding and Joining Technology
- Coating and Surface Treatment Analysis
- Corrosion Investigation
- Heat Treatment Process Optimization
- Semiconductor and Electronics Industry
Services
- Microstructural analysis
- Surface analysis after treatments
- Weld quality assessment
- Failure analysis including corrosion
Pricing
- Regular service: Starts from $675/sample. Turnaround time is 7 – 10 days. Expedited service available.
- Setup fee of $500 will be added per test batch.
- Method development will be additional depending on the type of samples.
Equipment
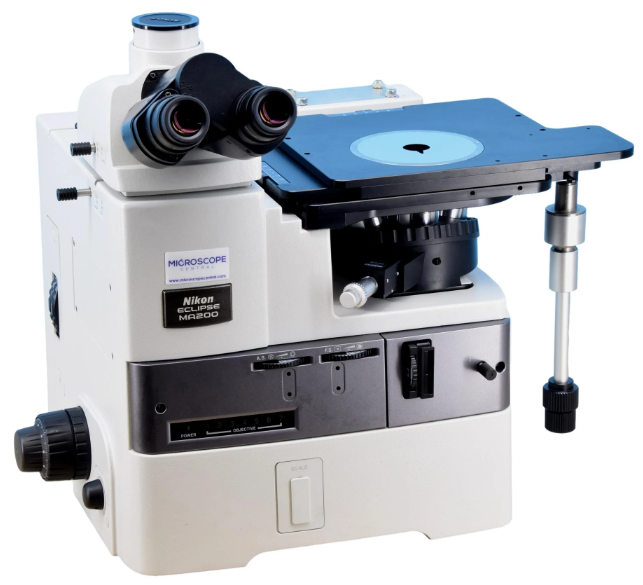
- Head: Trinocular Erect Head -MA2-TI3
- Eyepieces: 10x/25mm FPV
- Nosepiece: 5 Position BD
- Stage: MA2-SR Rectangular Stage
- Objectives: LU Plan Fluor BD 5x, 10x, 20x, and LU Plan ELWD BD 50x and 100x
- DIC: MA2-PA Polarizer and L2 DIC Slider
- Light Source: 50-Watt Halogen

FAQ
A: Metallurgical microscopy is a technique used to examine and analyze the microstructure of metals and alloys. It involves using optical or electron microscopes to observe the characteristics of a material at a microscopic level, including grain size, phase distribution, and defects.
A: Microstructural analysis is crucial because the microstructure of a material significantly influences its mechanical properties, such as strength, ductility, hardness, and corrosion resistance. Understanding these characteristics helps in material selection, quality control, and failure analysis.
A: Yes, metallurgical microscopy can identify various material defects, including cracks, voids, inclusions, and segregation. These defects can compromise the strength and integrity of materials, making their identification essential for ensuring material reliability.
A: It helps identify the root cause of material failures by examining the microstructural evidence present at the failure site. This can include assessing fracture surfaces, corrosion patterns, and other microstructural anomalies that contributed to the failure.
A: While primarily used for metals and alloys, metallurgical microscopy can also analyze ceramics, composites, and some polymers, especially when these materials are used in conjunction with metallic components.
A: Optical microscopy uses visible light to magnify images of materials up to about 2000x. Electron microscopy, including Scanning Electron Microscopy (SEM) and Transmission Electron Microscopy (TEM), uses electrons for much higher magnification (up to several million times), providing detailed microstructural and topographical information.
A: It involves examining cross-sections of welds to evaluate weld penetration, the presence of defects such as porosity or cracks, and the microstructure of the weld zone and adjacent heat-affected zones (HAZ), ensuring the welding process meets the required specifications.
A: Yes, it can help identify the types of corrosion and contributing factors by examining the morphology of corrosion products and the microstructure of corroded areas. This information is crucial for selecting materials and coatings that improve corrosion resistance.
A: It provides insights into how processing conditions and alloy compositions affect material microstructure and, consequently, material properties. This information is vital for developing new materials with desired properties for specific applications.
A: This involves analyzing the surface of coated materials to assess coating thickness, uniformity, adherence, and effectiveness in providing properties such as wear resistance or corrosion protection. Metallurgical microscopy can also identify defects in coatings, such as cracks or delamination.

